
I am going to divide this experience into 4 different posts: (1) Preparing for the trip and explaining the trek & logistics; (2) The trek to Ama Dablam base camp and Everest base camp; (3) The trek through Chola Pass, Renjo Pass, summitting Gokyo Ri, and the journey back to Kathmandu; (4) Exploring Kathmandu & reflections.
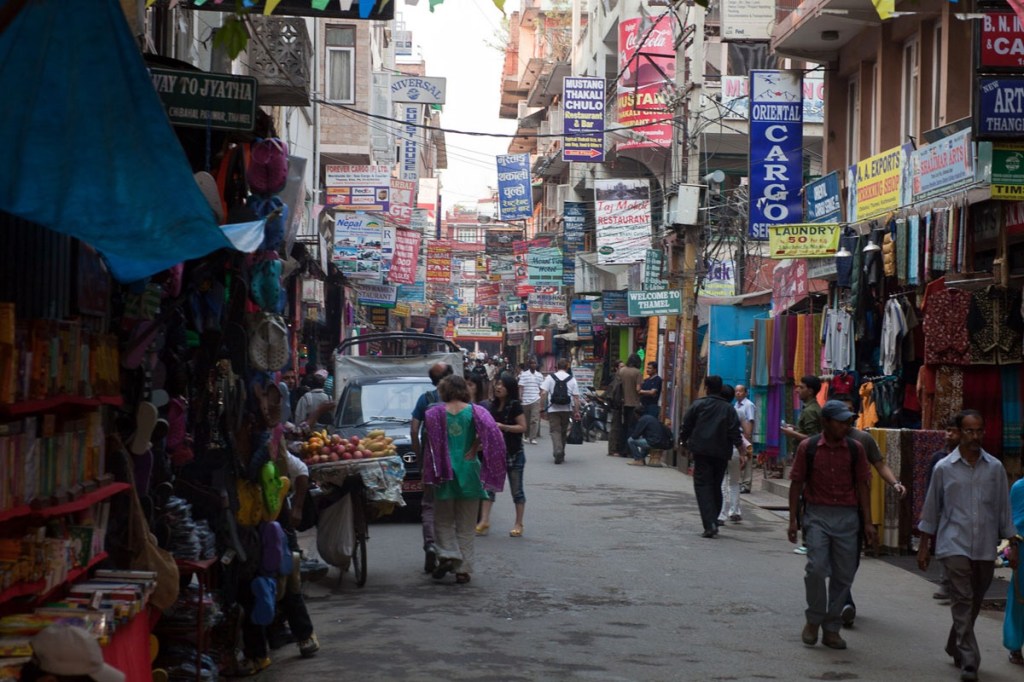
Kathmandu
A couple days before flying to Kathmandu from Delhi, I was coming off of a 3 day fever. Feeling weak and a bit disoriented, I started the difficult process of cancelling my trek to Everest Base Camp and the Three Passes: Kongma Pass, Chola Pass, and Renjo Pass. Although quite disappointed, I knew that my health and safety had to come first.
By the time I arrived in Kathmandu, however, I was feeling better. I teetered back and forth on attempting to make the trek to the Himalayas – knowing that I would have to book everything again and that there might not be availability. Arriving in Kathmandu, though, I felt a strong rejuvenation – and knew I had to try. Deciding that I was strong enough to attempt the 2 week trek, I left it up to chance and went to a travel agency in Thamel (the touristy neighborhood in Kathmandu) to see if there were still flights available from Kathmandu to Lukla (where most trekkers begin the journey). Fortunately, there were! – a gift of arriving a couple weeks before the full throws of the high season begin in April.
Prepping for the Trek
Logistics: Gear
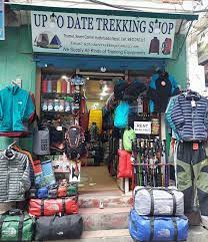
After booking my flight, I frantically ran around Kathmandu searching for a equipment for my trek. Here’s the full list of gear I needed:
- Sleeping bag (-10 degree)
- 40-65 Litre backpack
- 5/6 pairs hiking socks
- Down Jacket
- Woolly hat
- Sun hat
- Sunglasses
- Gloves
- Fleece
- Raincoat/windbreaker
- 2x pair hiking trousers
- Pair sleeping pants
- Boots/Trail Shoes
- Sandles
- First Aid Kit
- 2x 1 liter water bottles
- Microfiber towel
- 3x t-shirts
- Sleep shirt
- Sleep shorts
- Long sleeve shirt
- Headlamp
- Trekking poles
- Sunglasses
- Pair thermal underwear
- Hand sanitizer
- Chlorine dioxide droplets/purification tablets
- High SPF sunscreen
- Diamox (for altitude sickness)
- Crampons
- Ropes & Harness (for certain summits)
- Camera/phone!
- Cash! There are very few tea houses that accept debit/credit cards!
Logistics: Mapping out the Itinerary
While the trek is challenging, if done properly and with the right preparation and a little caution, it can be done safely as a solo trek (ie. without a guide or a porter to carry your equipment). I decided given my experience, physical ability and research, I would carry my own gear and navigate the trail on my own. For the first time in my life, I purchased a physical map of the region, and, with a friend I met at the airport, mapped out the journey through Sagarmatha National Park.
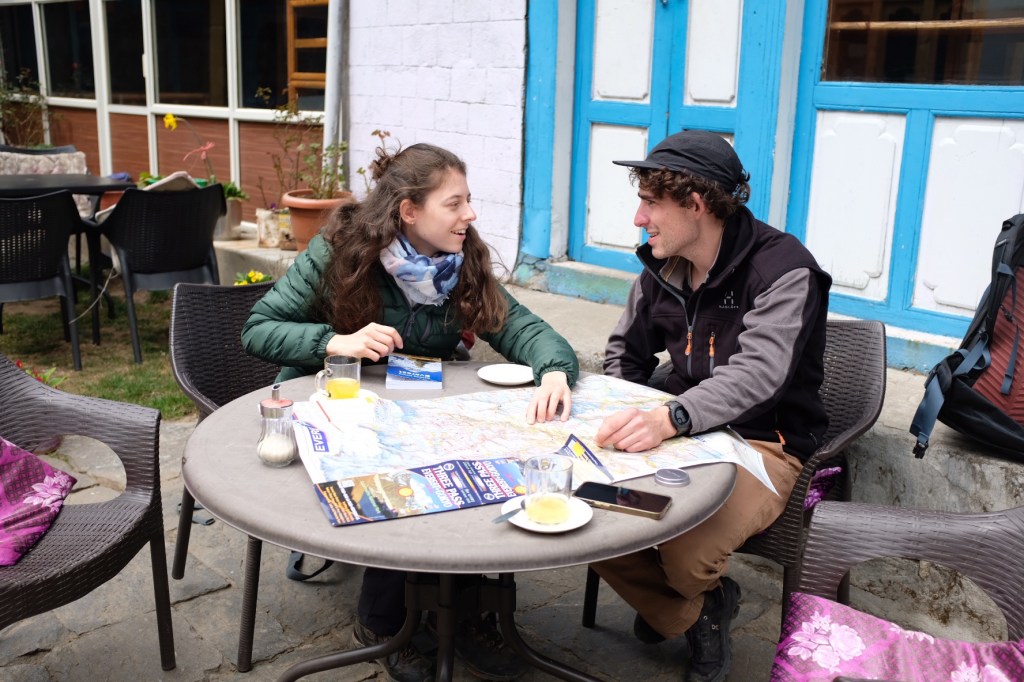
This was our itinerary (and a map to follow along):

- Day 01 (3/15): 7:00am flight from Kathmandu to Lukla (2,830 m.) and trek to Phakding (2,640 m., 4-hour trek)
- Day 02 (3/15): Trek From Phakding to Namche Bazzar. (3440m 5 hour)
- Day 03 (3/16): Acclimatization Day In Namche
- Day 04 (3/17): Trek from Namche Bazaar to Pangboche (3,985 m., 5-hour trek)
- Day 05 (3/18): Acclimatization Day in Pangboche and day hike to Ama Dablam Basecamp & High Camp (5,100 m., 6-hour trek)
- Day 06 (3/19): Trek from Pangboche to Dingboche (4,260 m., 5-hour trek)
- Day 07 (3/20): Morning hike to Chukhung Ri viewpoint (4,750 m., 2-hour trek) and Trek to Lobuche (4,930 m. 5-hour trek).
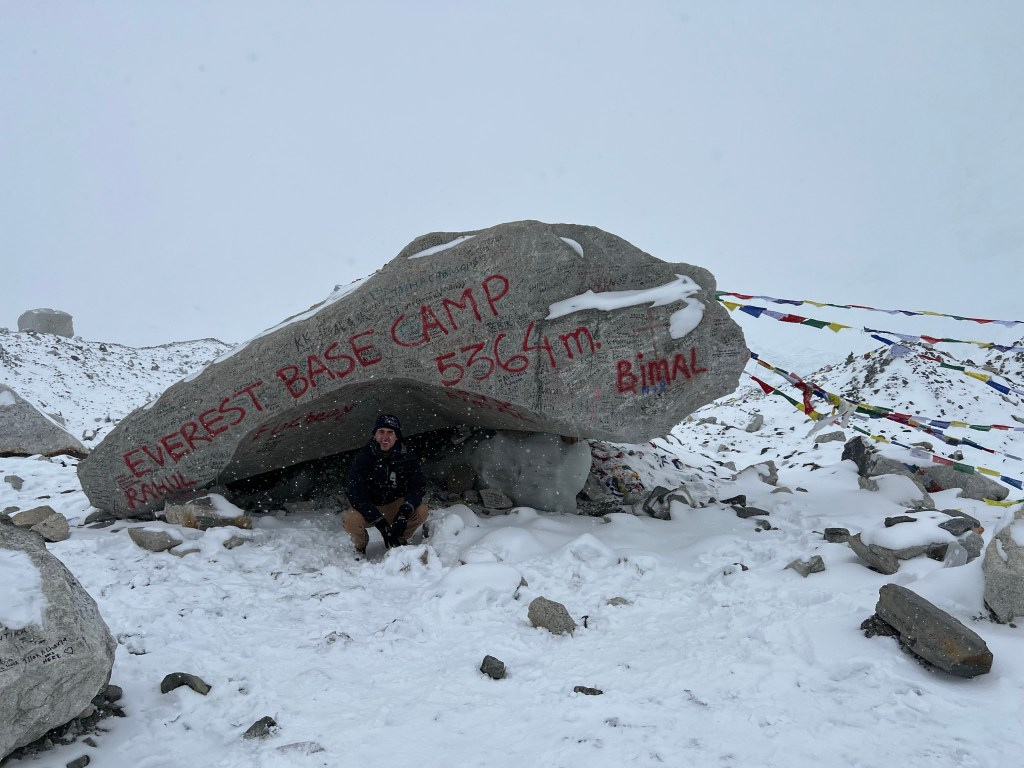
- Day 08 (3/21): Trek from Lobuche to Gorak Shep (5,170 m.) and continue to Everest Base Camp (5,364 m.,) and return to Gorakshep (6-hour trek)
- Day 09 (3/22): 3:30am sunrise hike to Kalapathar (5,648 m., 2-hour trek) and trek down to Dughla (4,620 m., 6-hour trek)
- Day 10 (3/23): Trek from Dughla through the Chola Pass (5,420 m.) to Gokyo (4,790 m., 8-hour trek).
- Day 11 (3/24): Rest day in Gokyo with hike to summit Gokyo Ri (5,357 m., 3-hour hike)
- Day 12 (3/25): Trek from Gokyo through the Reno Pass (5,417 m.) to Lunghden (4,380 m., 8-hour trek)
- Day 13 (3/26): Trek down from Lunghden to Namche (3,443 m., 8-hour trek)
- Day 14 (3/27): Trek down from Namche to Lukla (2,850 m., 8-hour trek)
- Day 15 (3/28): 6:00am flight Lukla to Kathmandu
This plan was, admittedly, quite ambitious – but given our ability and determination, Sophie and I decided to attempt it, knowing that we could always cut back if necessary.
Logistics: The Flight from Kathmandu to Lukla
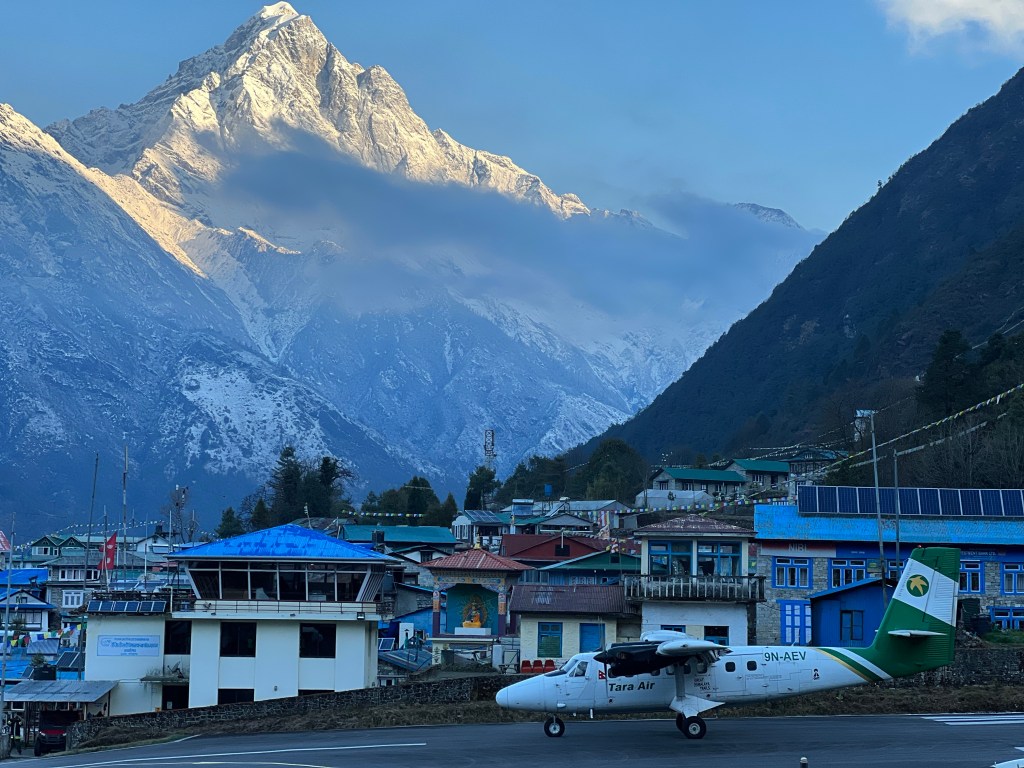
The most tenuous parts of the trek are the flights to and from Lukla. Fortunately, I was trekking in March, right before the start of the high season, so I did not have too much trouble securing my flights. These are very small planes with only 15 or so available seats – and the flights are notorious for being cancelled. If the weather conditions are not perfect, the flights will not take off due to the dangerous landscape of the Lukla Airport.
The flight lasts 25 minutes from take off to landing, covering 85 miles. It is important to take the earliest flight possible as it will give you the best chance of not having the flight cancelled due to weather. The Lukla airport has a reputation as the most dangerous in the world; however, while the flight may be more dangerous than the average commercial plane ride, it is relatively safe.
Logistics: Costs
Costs for the trip were actually quite reasonable and I ended up spending a little under $1,000 for the entire 2 weeks.
- Transportation: Round trip flight Kathmandu-Lukla cost around $400 (expensive for a 25 minute flight!)
- Permits: It is mandatory that foreign hikers obtain a “trekking permit” ($15) and a Sagarmatha National Park entrance ticket ($25)
- Accommodation: Tea houses cost around $2-5 depending on how far along the trail you are. In the end, I spend about $60 in total.
- Food & drink: This is the true expense – costing anywhere between $10-30 depending on where you are. In the end, I spent around $300 on food, tea, and snacks.
- Showers: Given my minimal showering, this cost me about $10. More on that later…
- Wifi & Charging: I splurged a bit here, getting wi-fi in several stops and charging my camera and phone fairly regularly. This cost me around $80 in the end.
- Gear: I chose to purchase my gear and try to sell it when I returned, which turned out to be quite good for my wallet. I initially spend around $150 on gear, but after selling the superfluous items when I returned to Kathmandu, it ended up being closer to $90.
Logistics: Managing the Risks

Unlike some of the other hiking trips I have done, this journey came with a host risks that we had to consider. While the trek to EBC and through the passes isn’t inherently dangerous, it is vital that you take the mountains seriously. The trek has a variety of risks due to its location and altitude, and unfortunately, a fair number of people die or are seriously injured each year due to a lack of preparation or a lack of respect for the dangers. From the deaths that occur each year in the Sagarmatha National Park, most are due to altitude sickness or underlying conditions that get worse by the high altitude. During our trek, Sophie and I witnessed several cases of severe altitude sickness that required a helicopter medevac and, unfortunately, even a death from cerebral edema (a severe version of altitude sickness). In order to keep yourself safe, you must regularly check in on your body and mind, and take the symptoms of Altitude Sickness seriously.
Altitude Sickness is caused by gaining altitude too rapidly, which doesn’t allow the body enough time to adjust to reduced oxygen and changes in air pressure, and causes hypobaric hypoxia (a lack of oxygen reaching the tissues of the body). It can happen to anyone, no matter how fit or capable the person. Being young and in shape does not reduce your risk, and just because you haven’t experienced altitude sickness in the past, doesn’t mean you won’t experience it in future climbs. The only sure method of prevention is to take plenty of time to ascend, and consider taking diamox preventatively.
Diamox is a drug reduces the activity of a protein in your body, reducing the build-up of certain fluids in the body. It is most commonly used in people with certain types of glaucoma to reduce the amount of fluid in the eye, which decreases pressure inside the eye. It is also used as a diuretic (“water pill”) in people with congestive heart failure, to reduce the build-up of fluid in the body (edema). The medication is effective in preventing acute mountain sickness (AMS), and its more dangerous variations: high altitude pulmonary edema (HAPE), and high altitude cerebral edema (HACE).
Aside from Altitude Sickness, it is important to keep a regular check on the weather, which can be unpredictable and quite dangerous if not navigated with the appropriate gear. Ensuring that you are consuming enough calories at tea houses and drinking enough water is essential – as well as monitoring your body temperature in the early mornings and evenings. To keep an eye on our blood oxygen levels, I brought an pulse oximeter.
Finally, physical injuries are quite common on Himalayan treks, often a result of accidental falls on rocky or icy snow sections. It is therefore important to bring a first aid kit and keep a mental note of the nearest towns or clinics in case of an accident.
Have I frightened you yet?
I was worried at first, too – but, after two weeks, I can confidently say that this journey is safe and relatively accessible, so long as you take the risks seriously and DO NOT try to circumvent the dangers if/when they arise. In the mountains it is not shameful to submit to the environment – its instead honored and respected by both trekkers and locals. Safety and self-preservation always come first.
Okay, back to the fun parts!
Teahouse Trekking
Overview
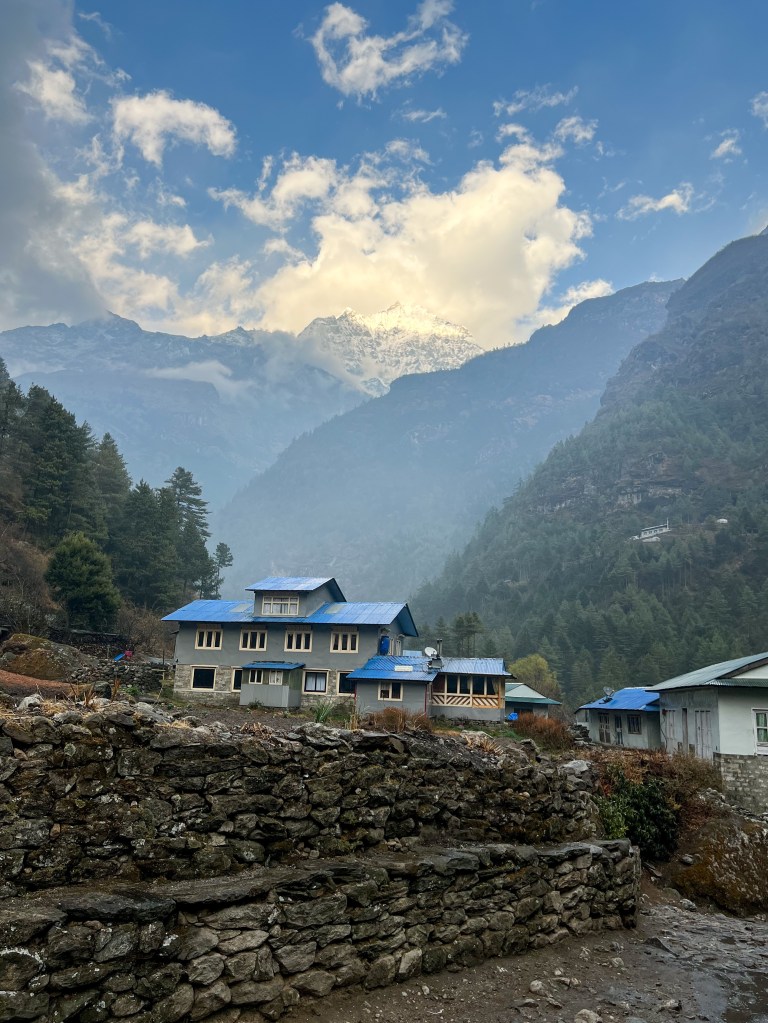
Throughout the duration of the trek, hikers sleep and eat in teahouse accommodations in the various villages. These teahouses offer basic accommodation options that range from being free to $5 per night (Rs 500). The one caveat is that these accommodation prices are based on the assumption that you eat your meals (and drink your tea) in the teahouse. While some teahouses may be slightly nicer than others, I found for the most part that they offered very similar services and amenities.
Guests have a small room with 1-2 beds with a thin mattress, some hooks to hang clothes on, and a garbage basket.
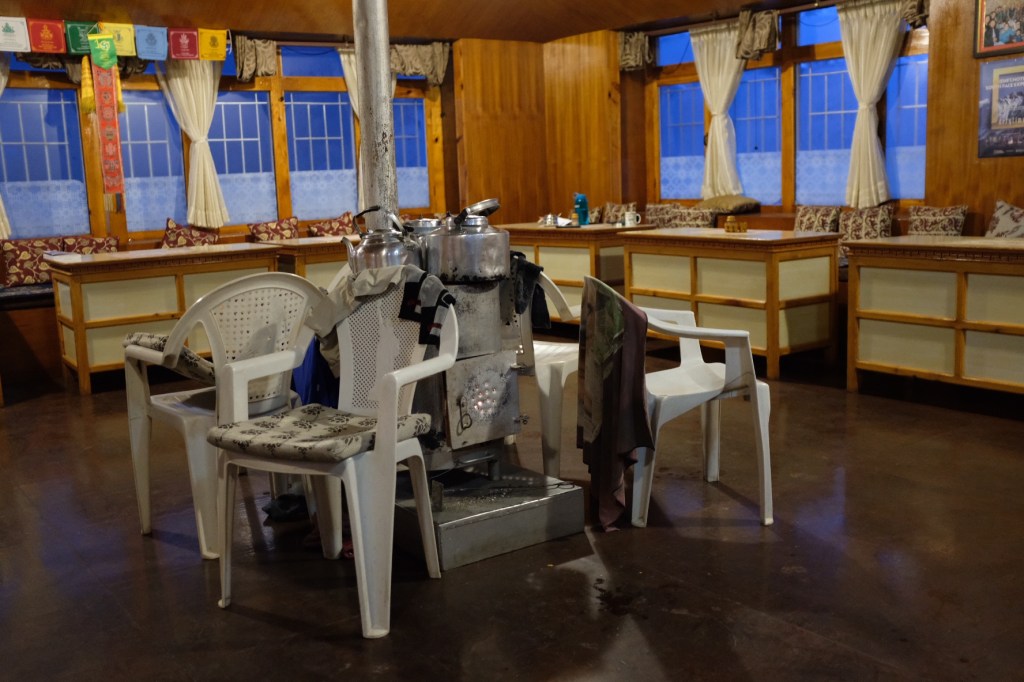
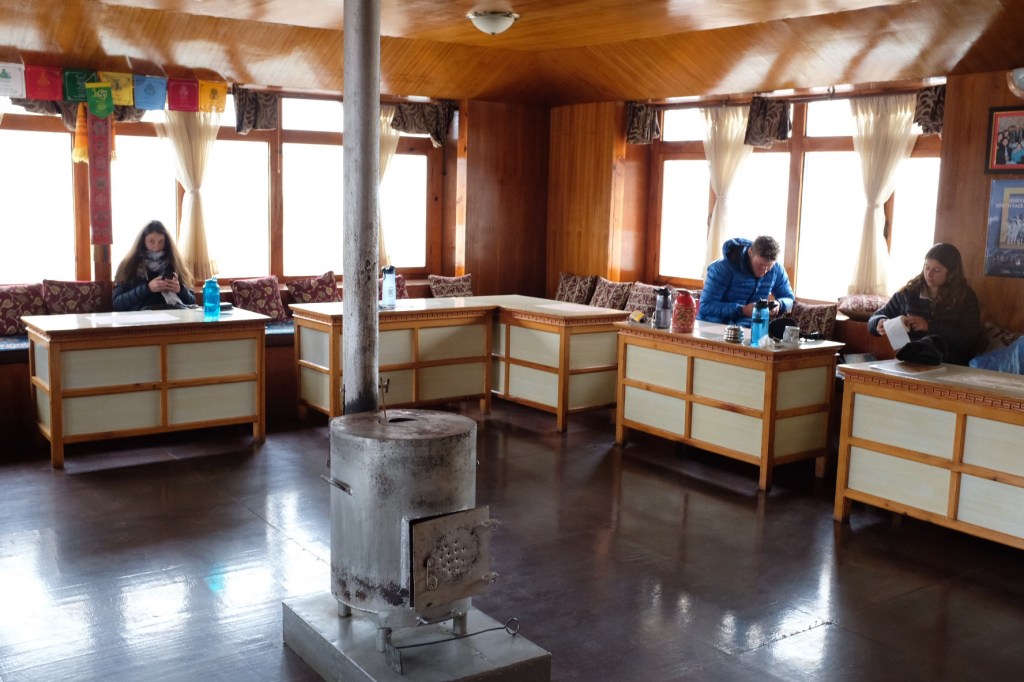
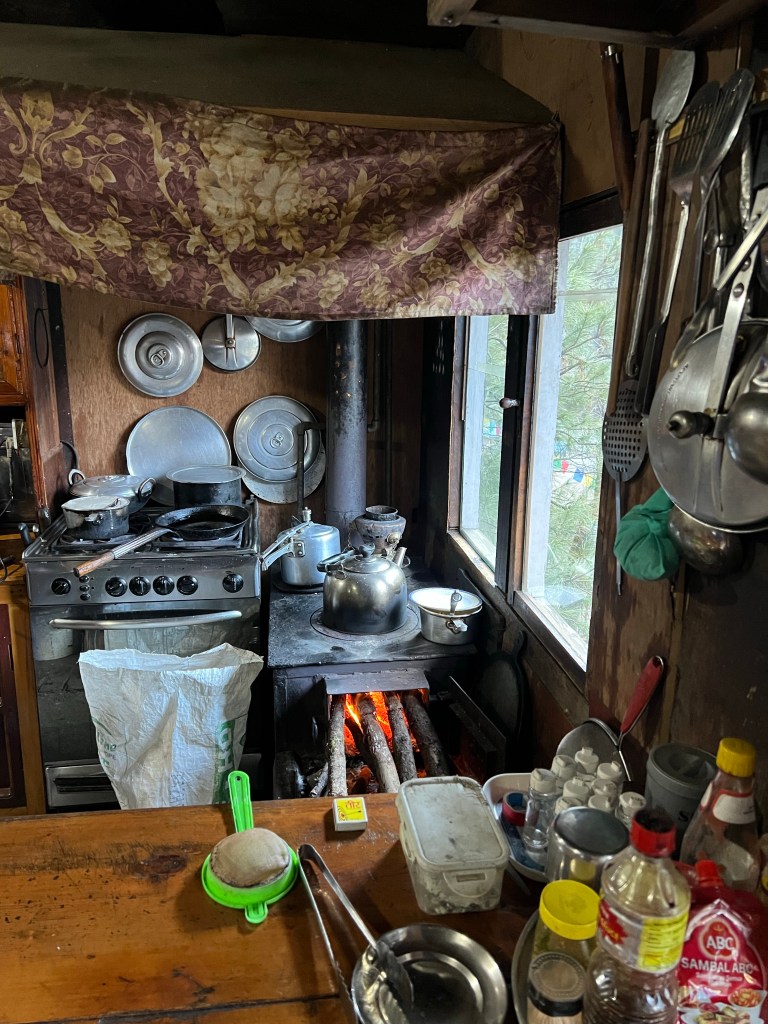
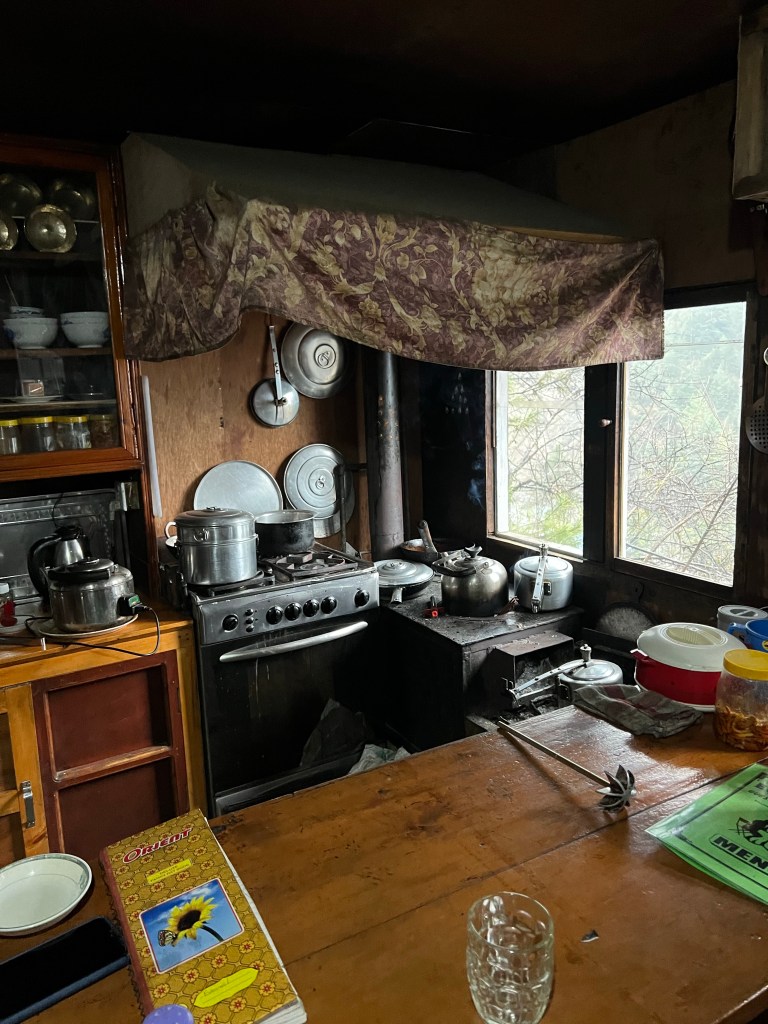
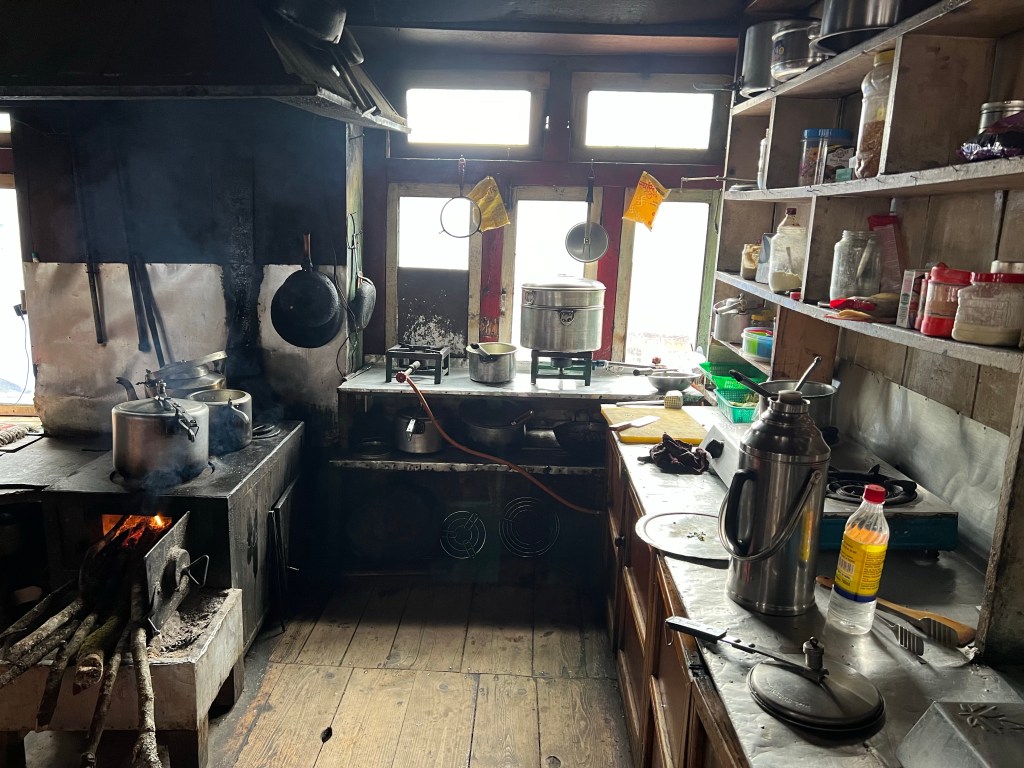
The main hangout spot in the teahouses is the common dining room area. Here is where all meals are served and where trekkers find the most important part of the teahouse – the fireplace! In the early mornings and in the evenings, the hosts will have the fire going (often with dried yak poop!) to help warm you up and dry your gear as you eat and hang out with the other trekkers.

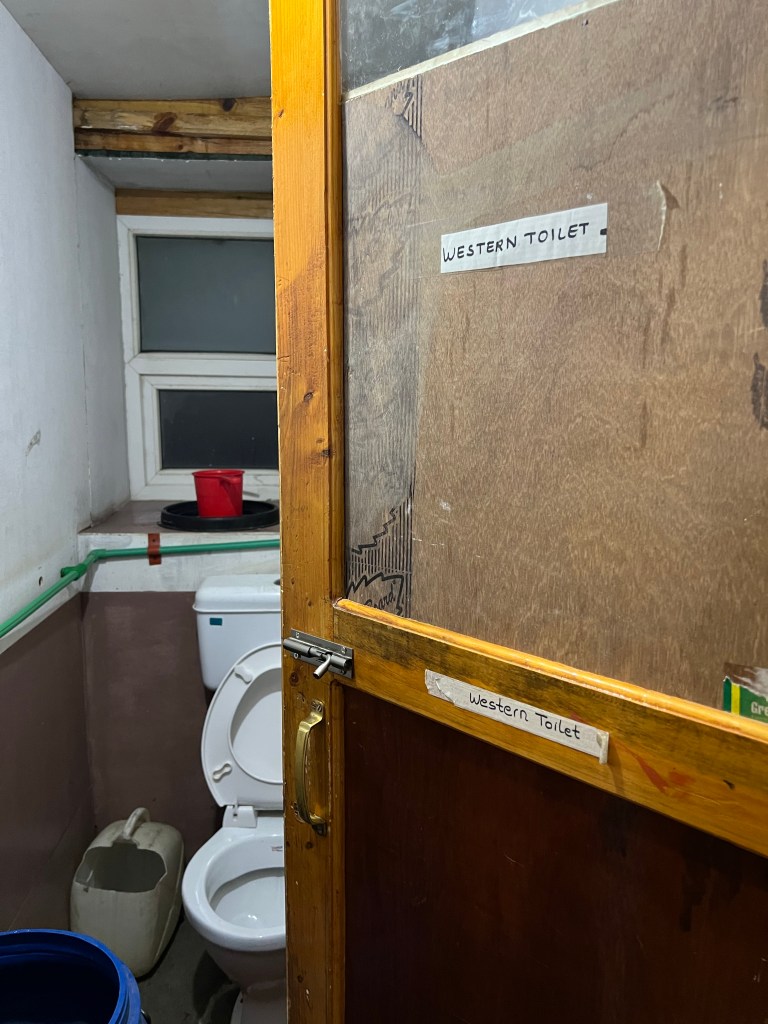
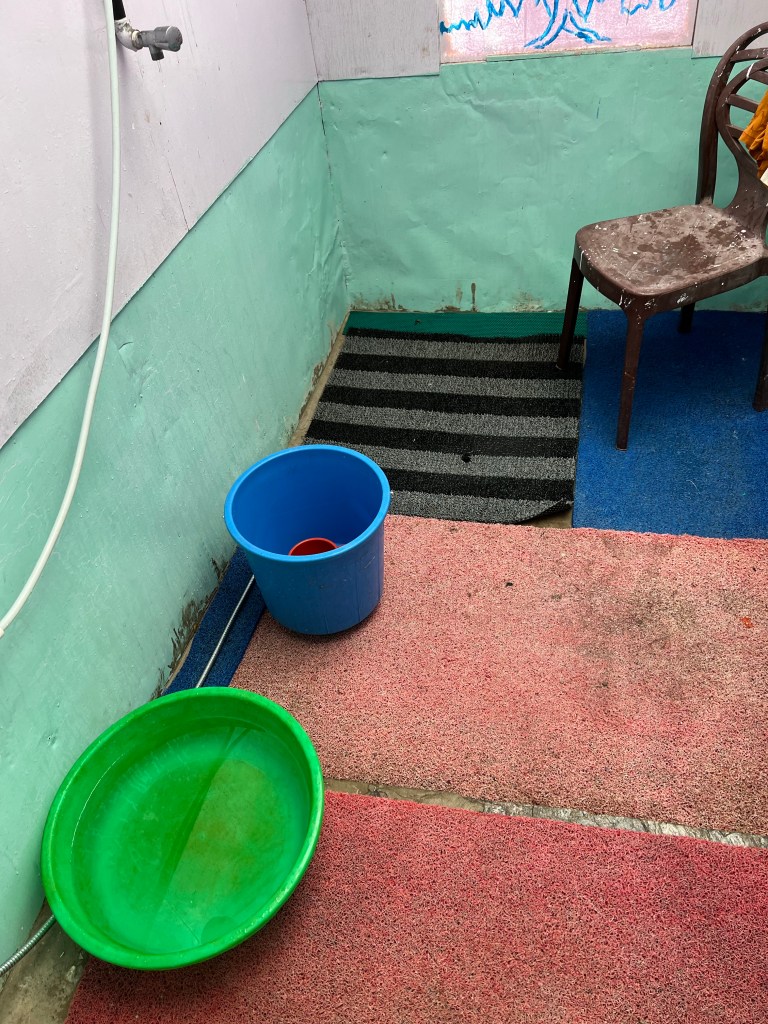
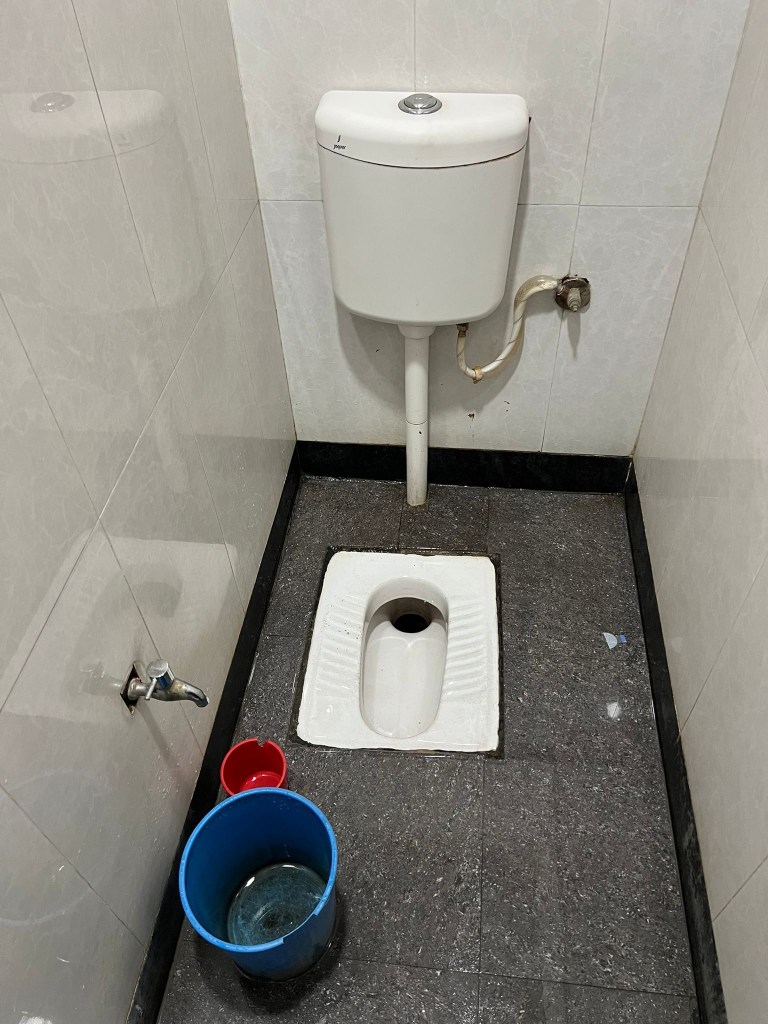
Outside of the rooms, there are shared restrooms. These may be western toilets, just squat toilets, or a mixture of both. Outside of the restroom area, there are sinks to wash your hands.
The best place to hang out in the teahouses in my opinion are the kitchens, where you can chat with the staff and sherpas passing through.
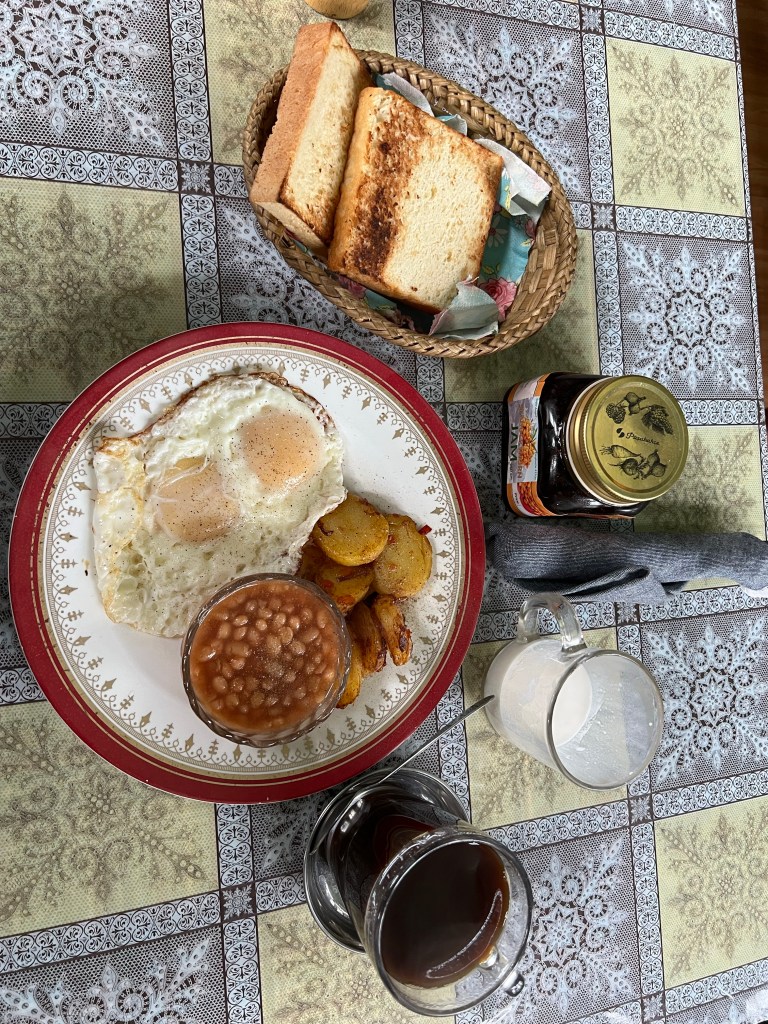
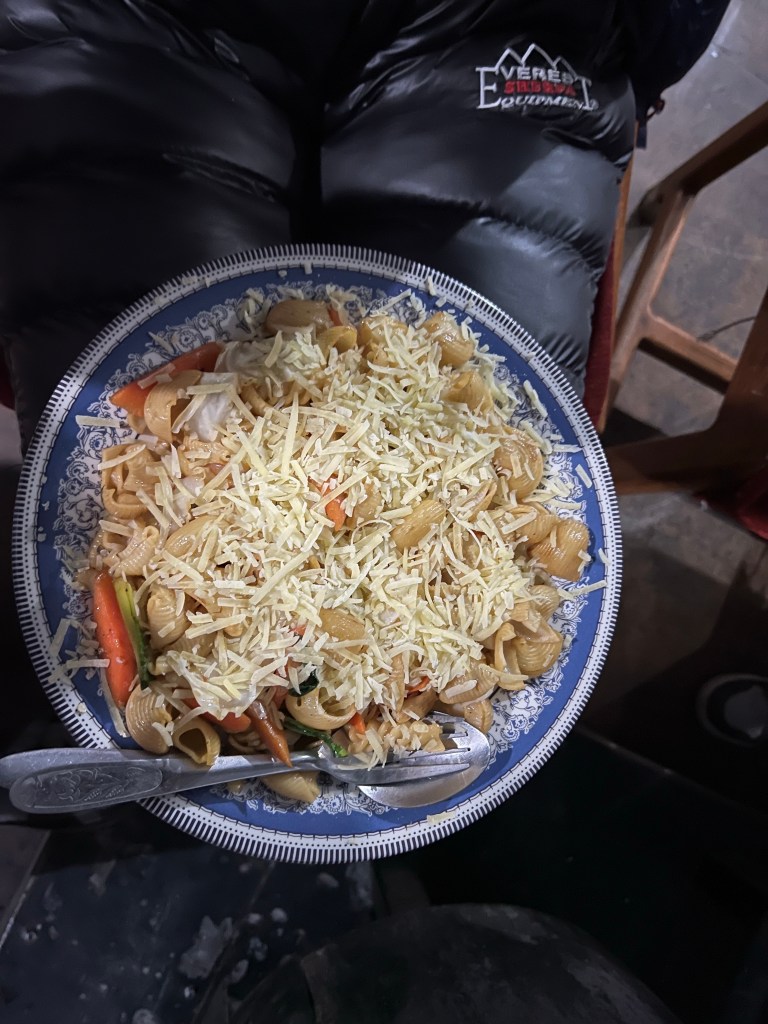
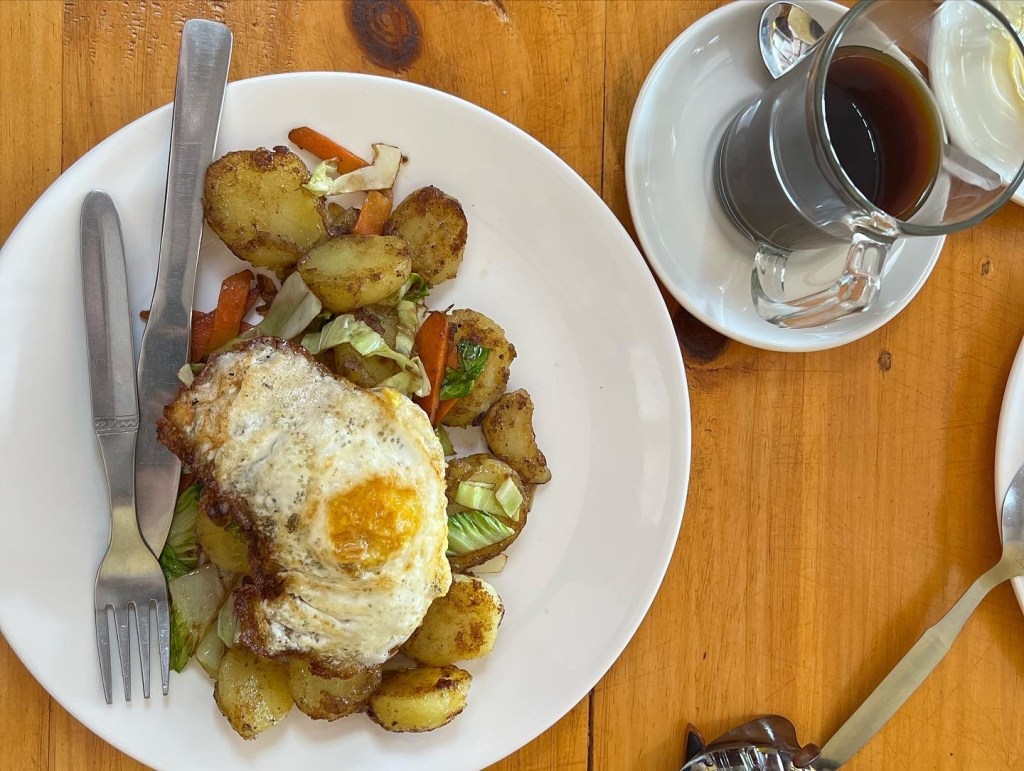
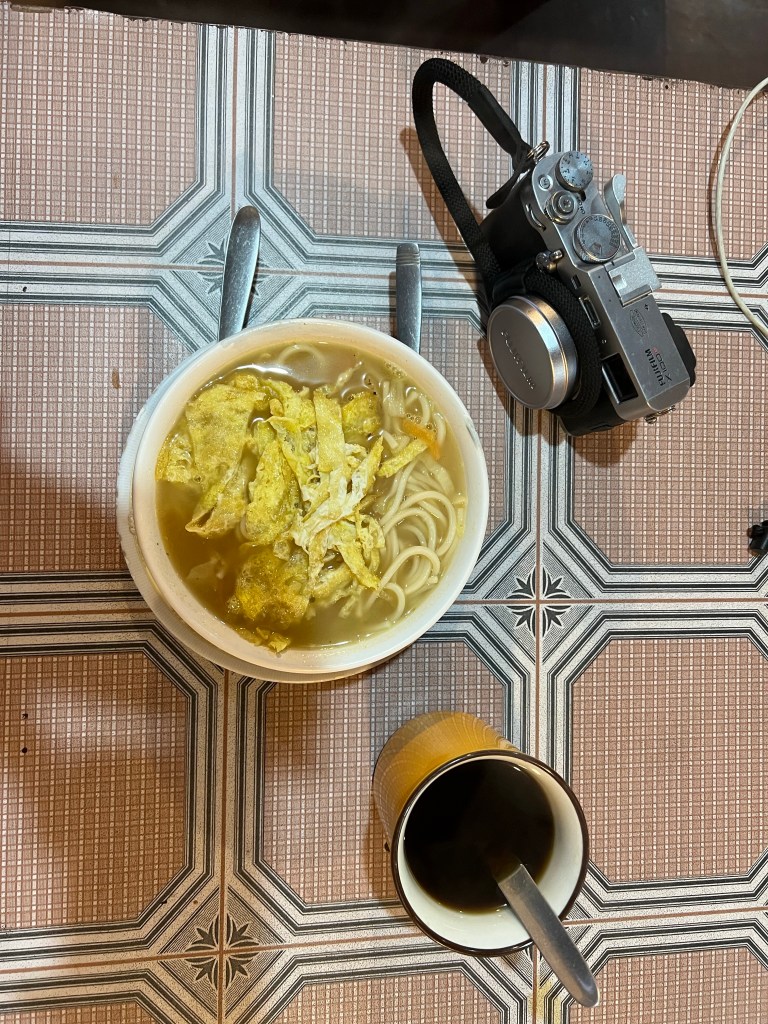
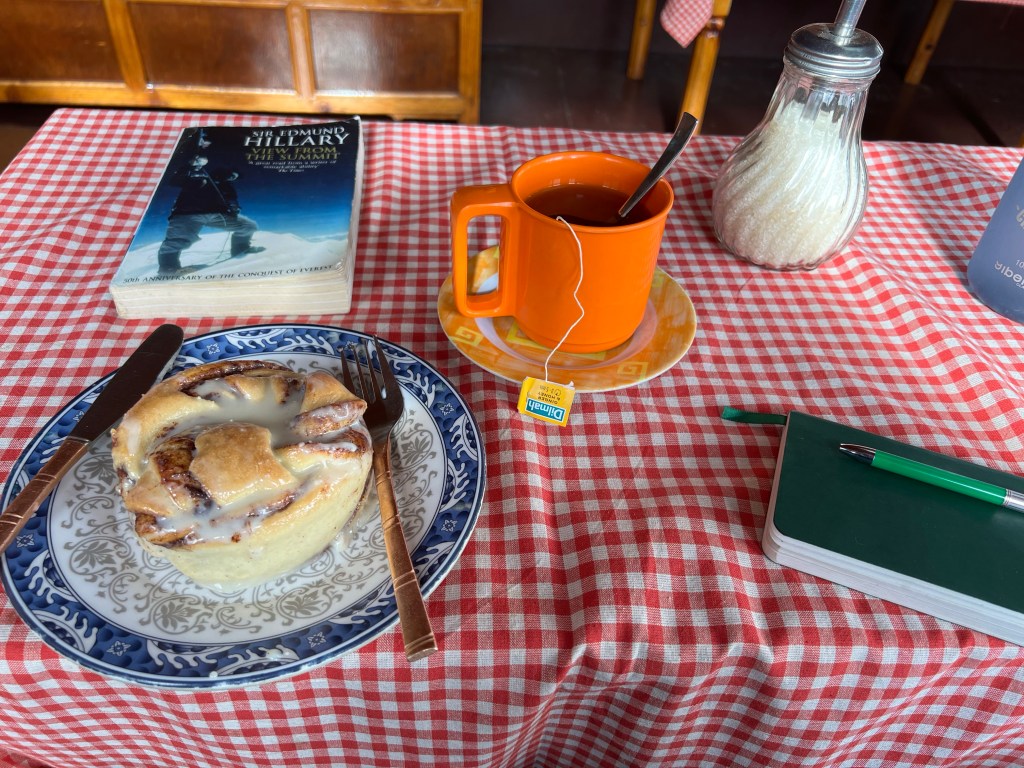
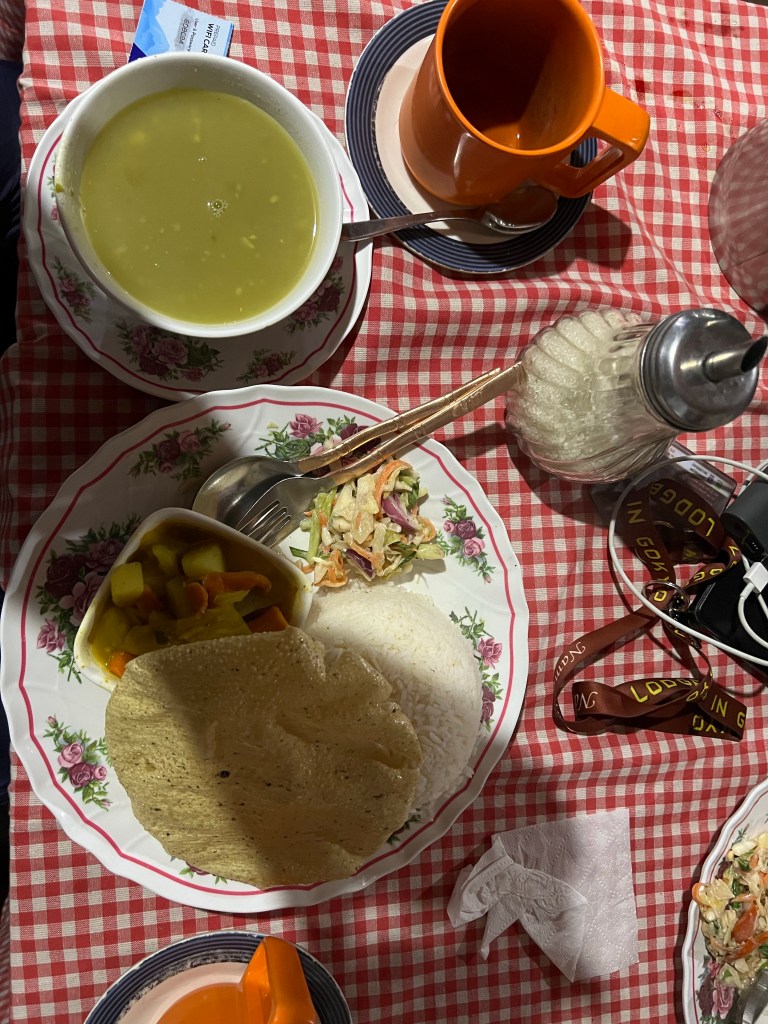
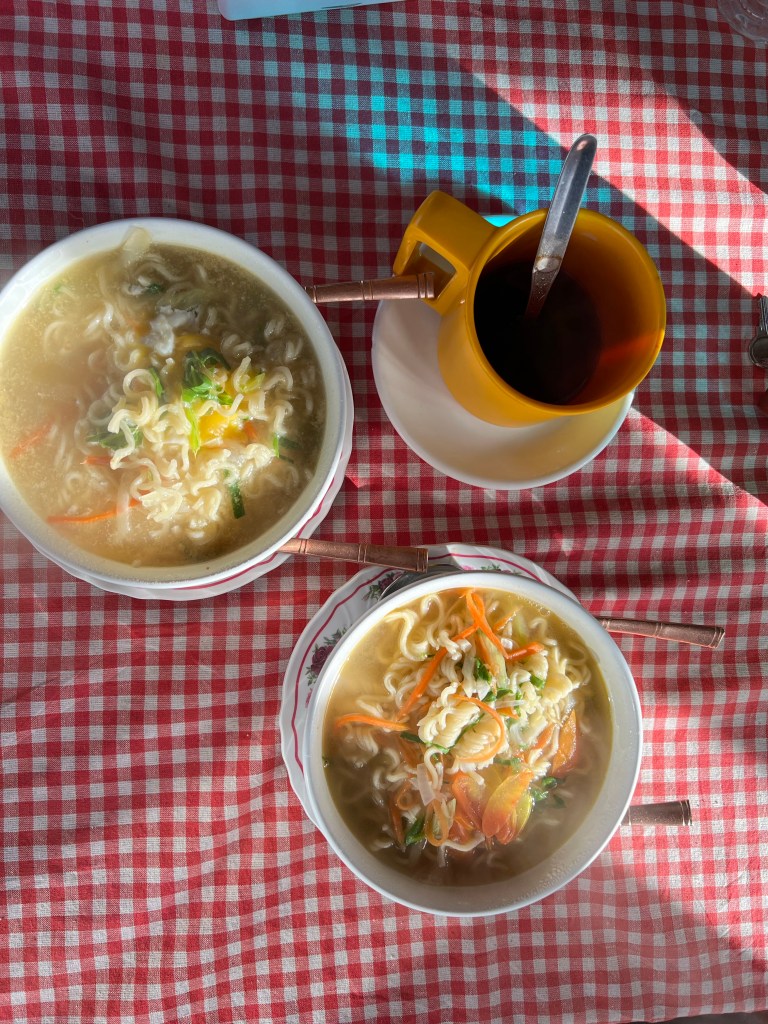
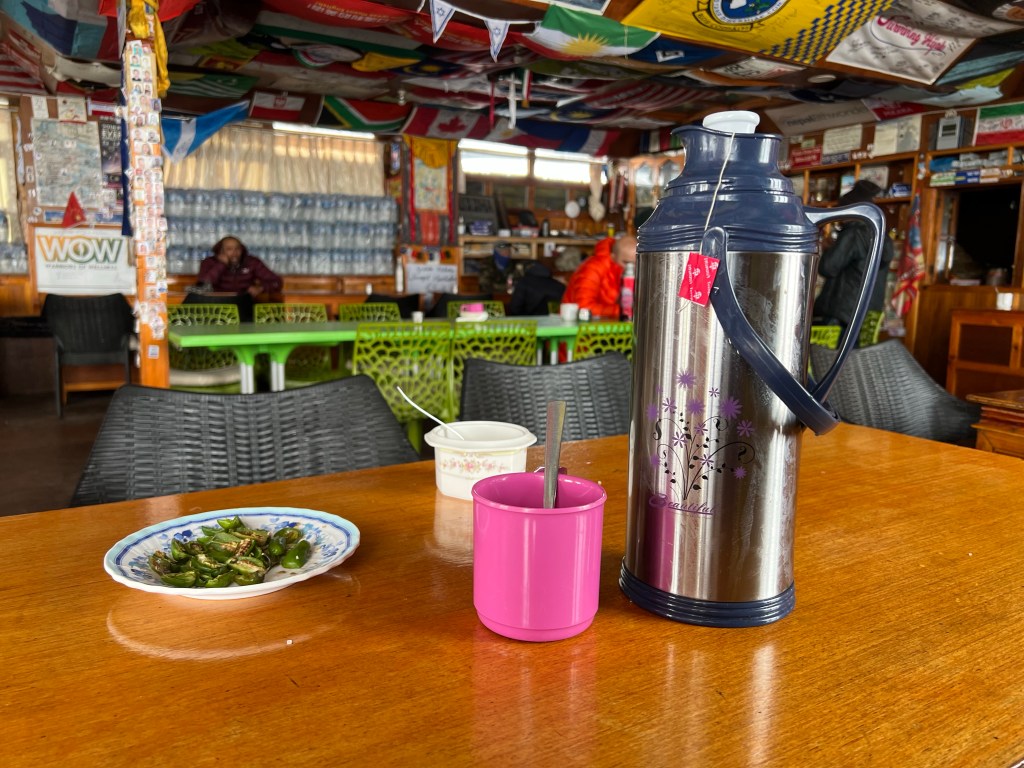
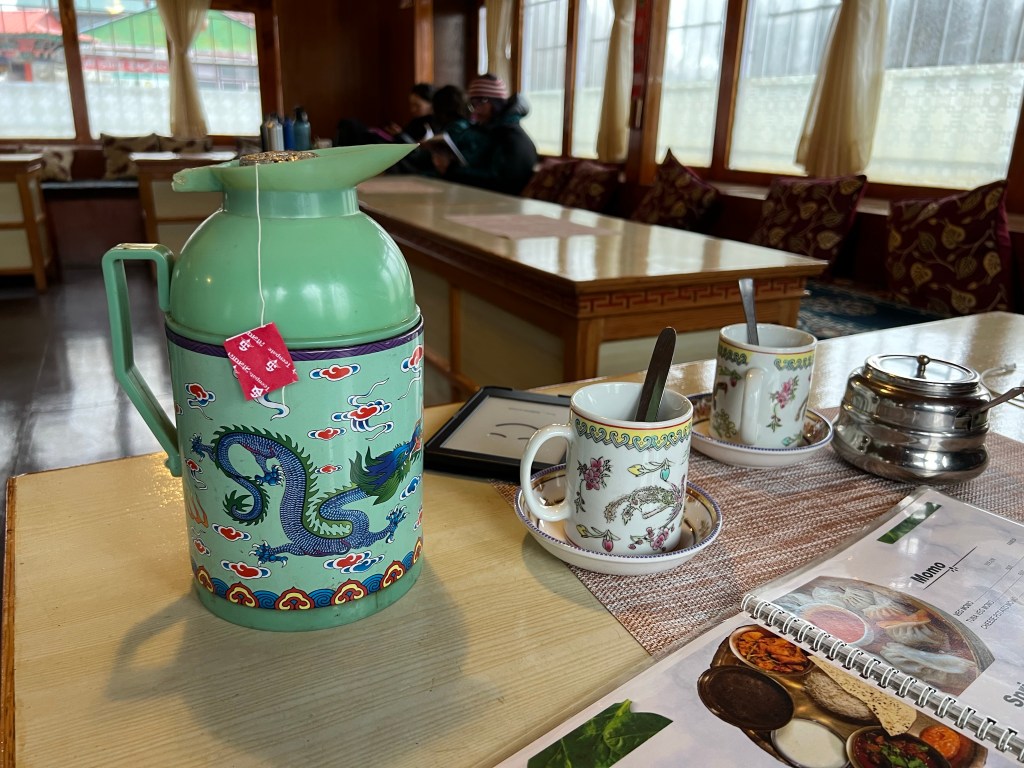
Food & Drink
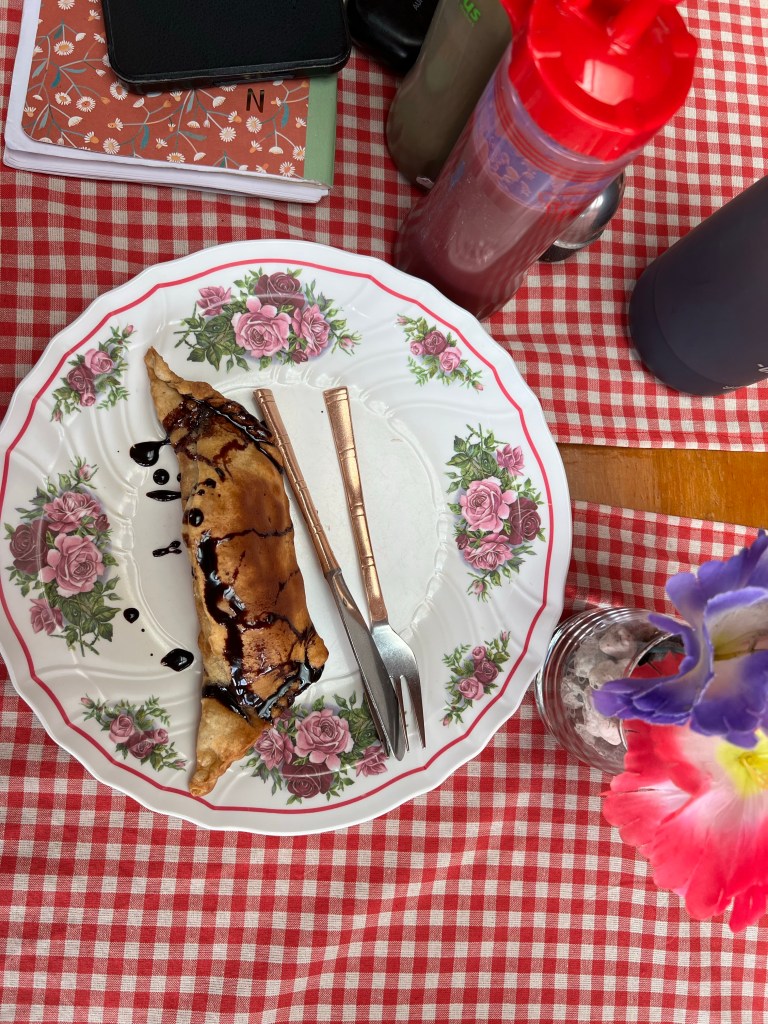
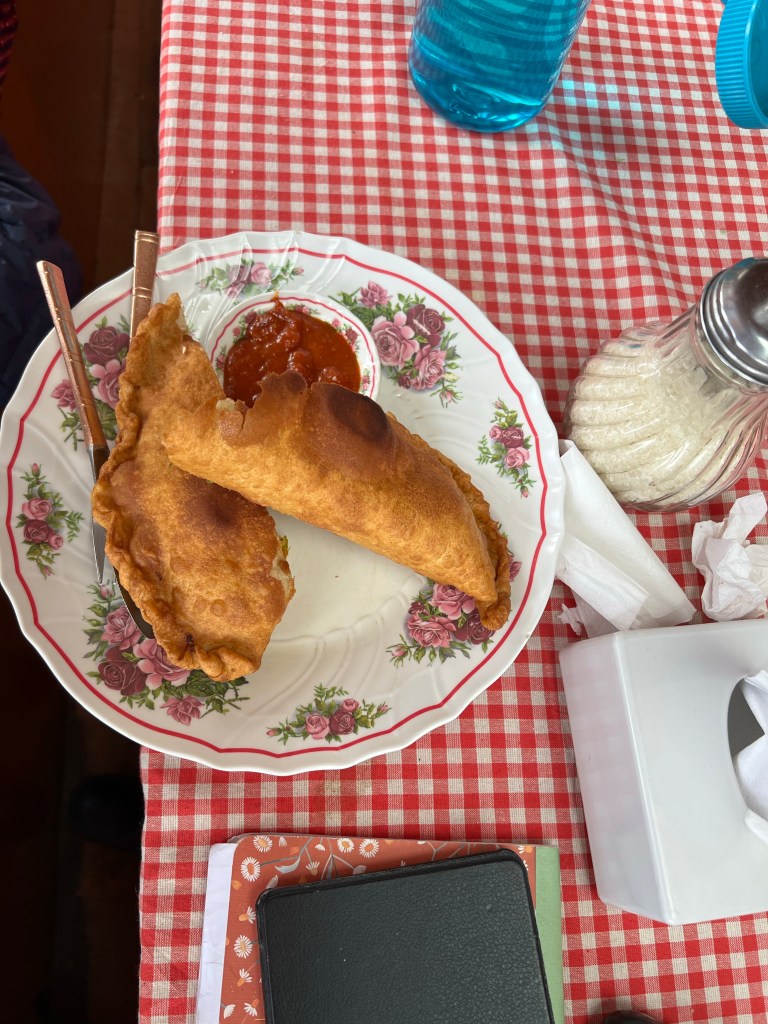
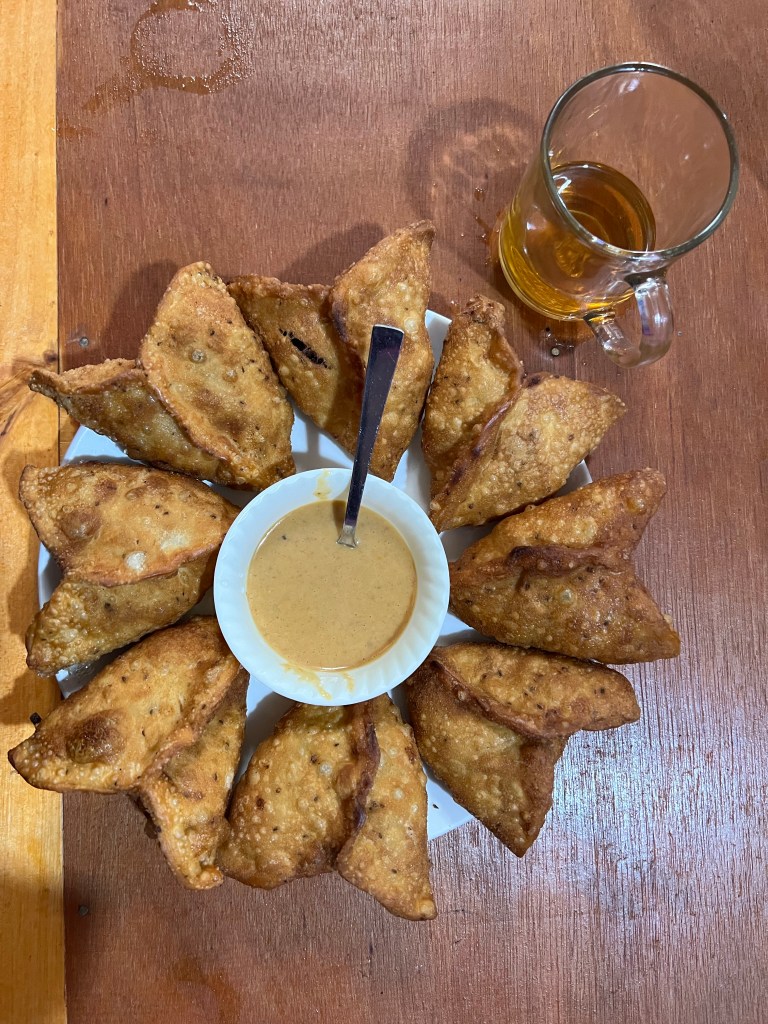
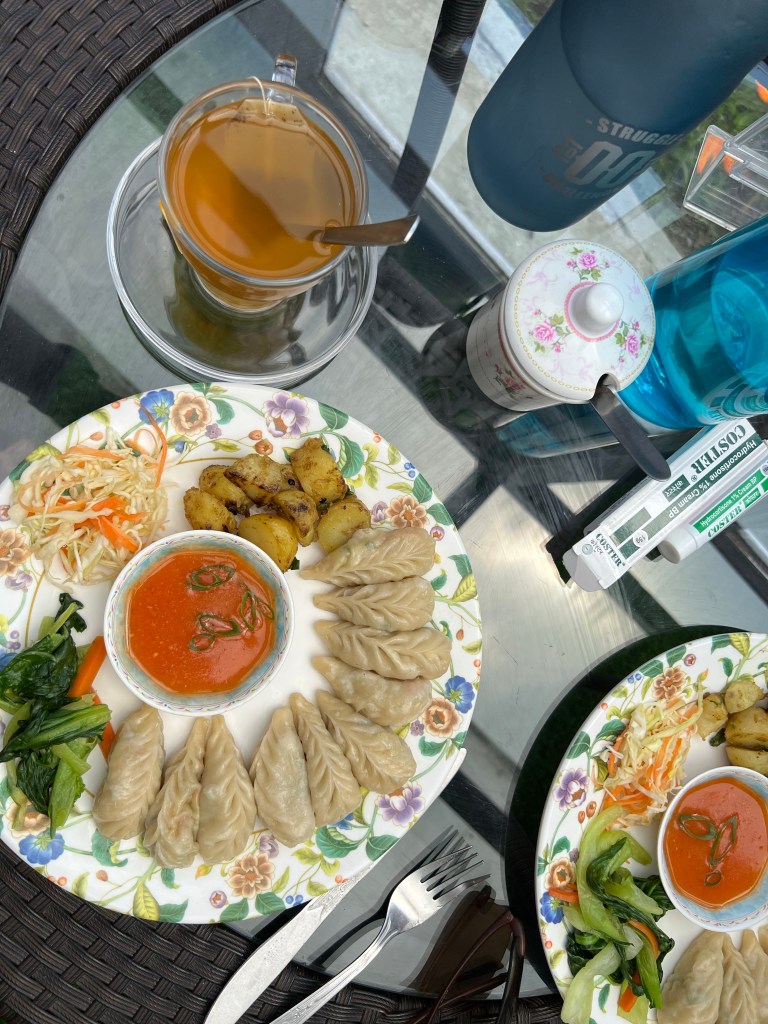
The great thing about teahouses is that they offer 3 meals a day with a whole variety of food options – and it always tasted great! Some classic options include:
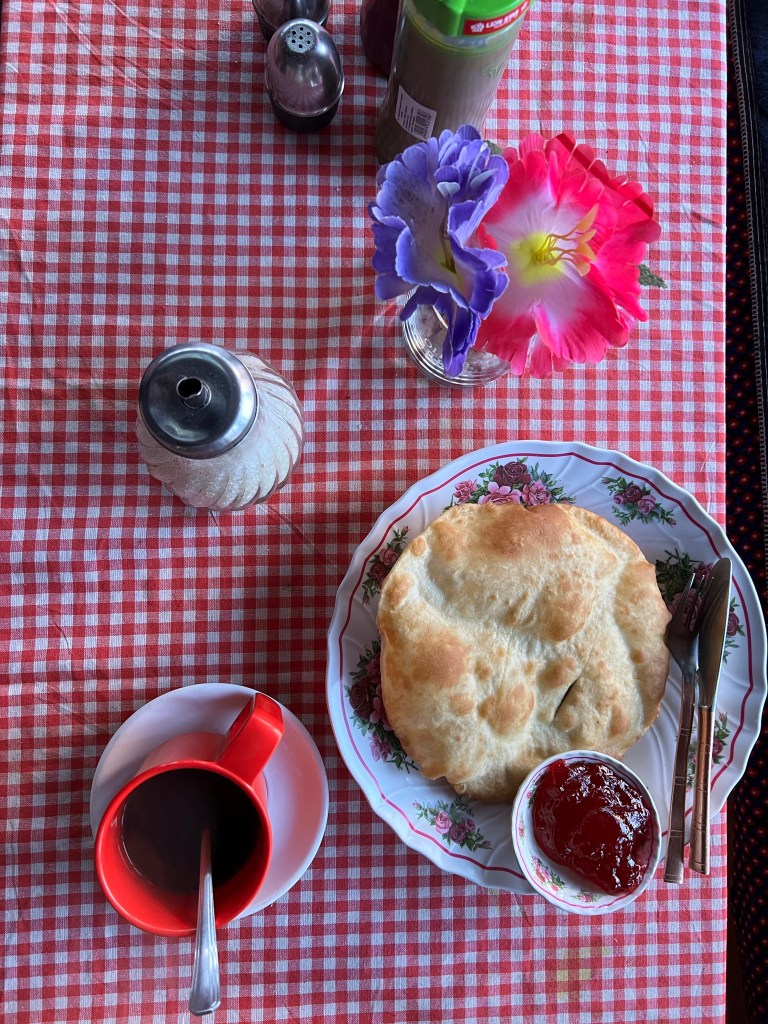
- Tibetan bread with jam or honey
- Porridge
- Eggs over chapati
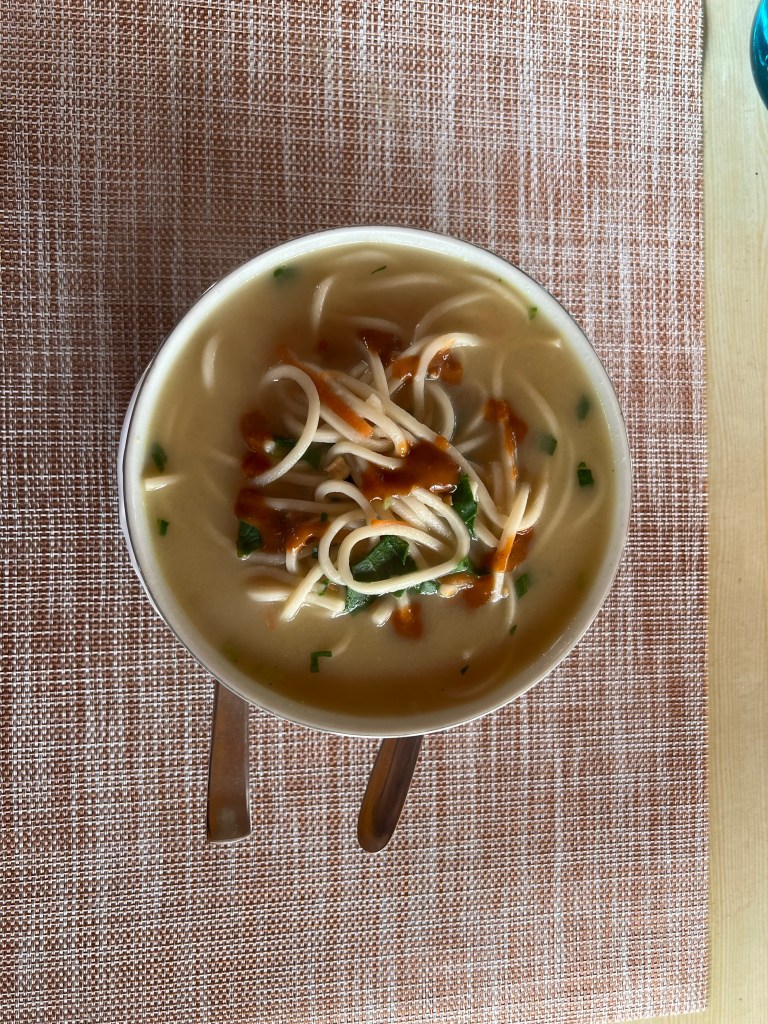
- Thukpa (Nepali noodle soup)
- Momos (dumplings)
- Spring Rolls
- Curry rice
- Egg Chowmein
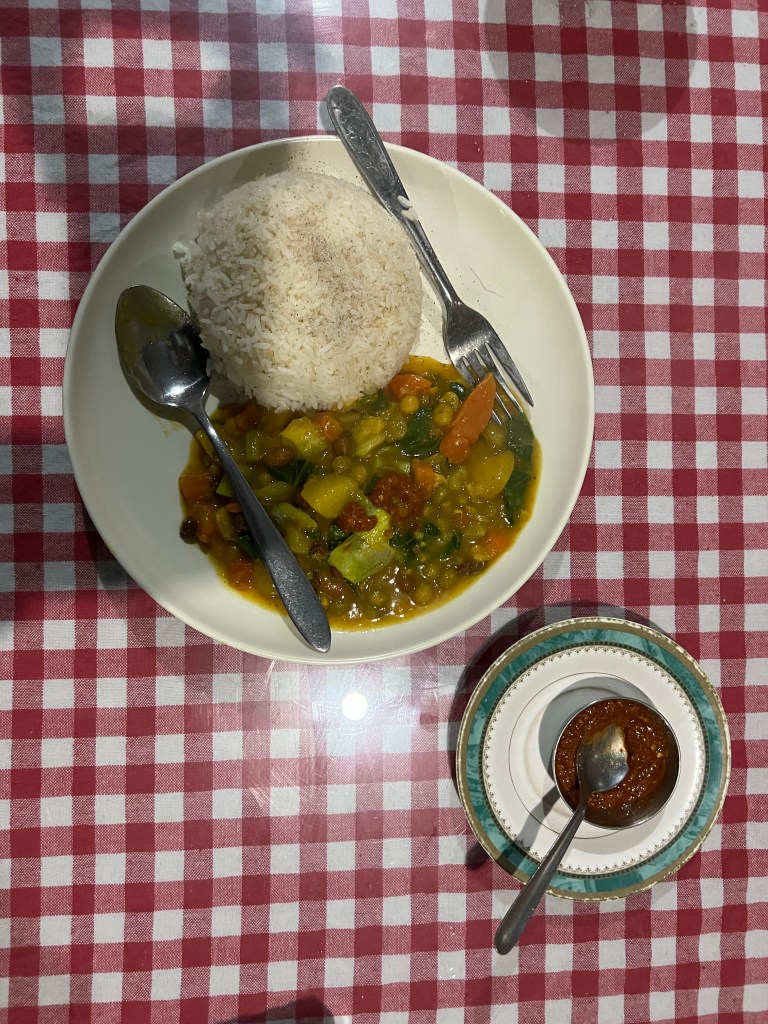
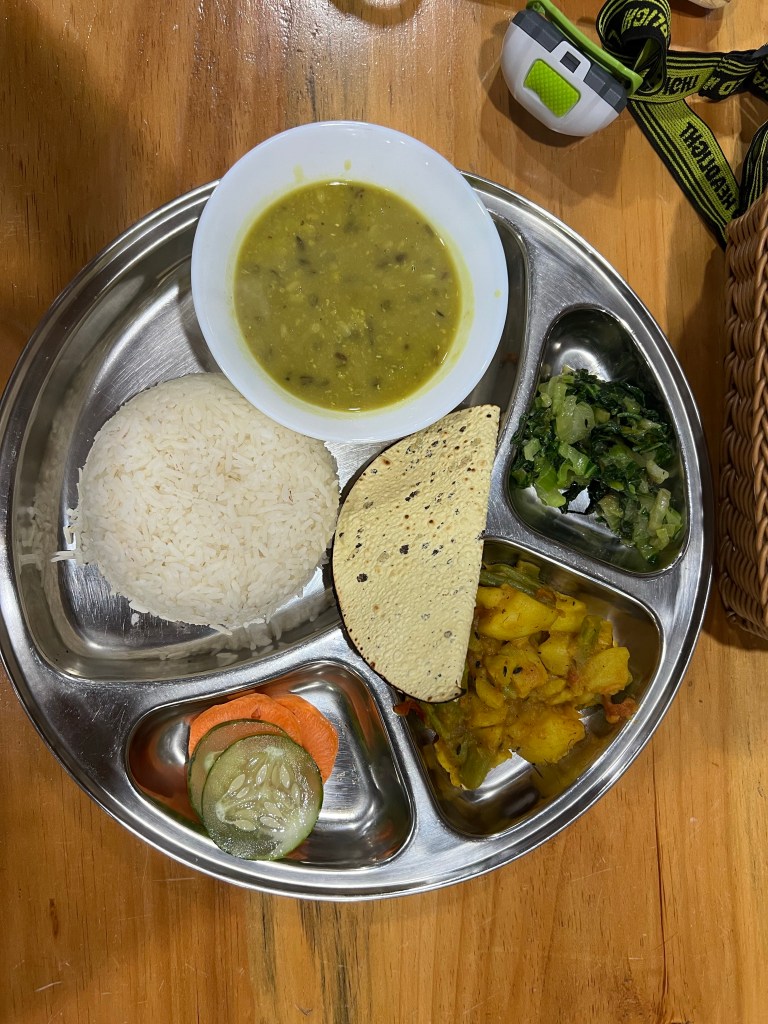
- Dal Bhat (a local dish comprising of rice, vegetables, and lentils) – you can even get a free refill on this!
- Snicker roll (a favorite – a fried snicker bar!)
One good rule of thumb is to not eat any meat past Namche Bazar as it has a higher chance of being contaminated on the way up the mountains (remember, most food is brought up by sherpas or yaks!)
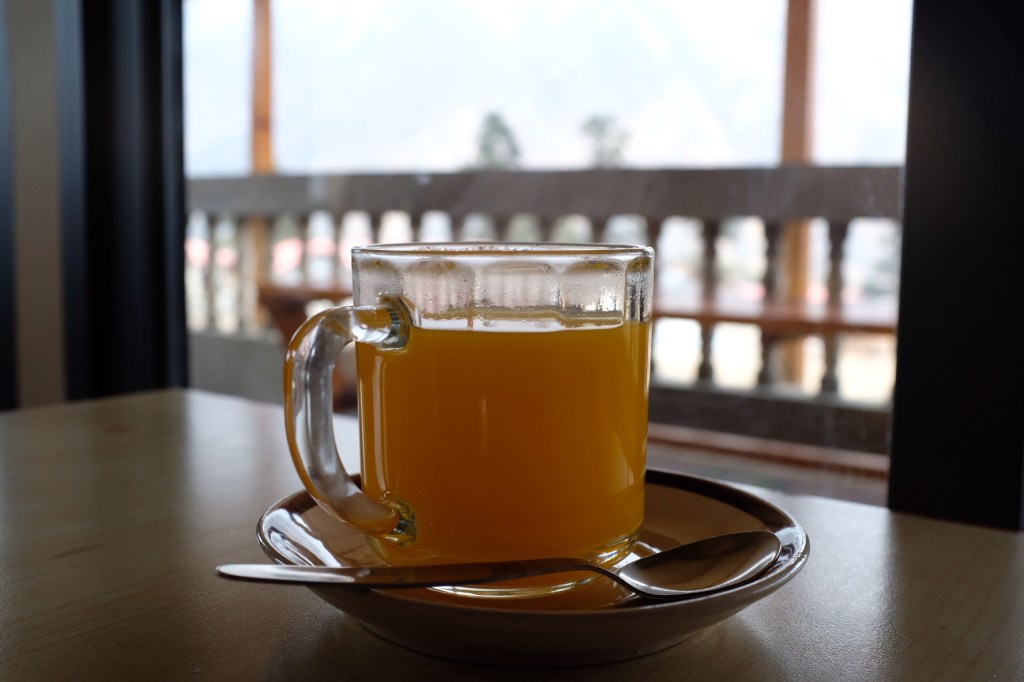
The tea houses, surprising or not, also offer a huge selection of teas! Some favorites include:
- Ginger Lemon Honey
- Black w/ lots of sugar
- Mint
- Jasmine
- Strawberry
- Masala
- Sweet Lemon
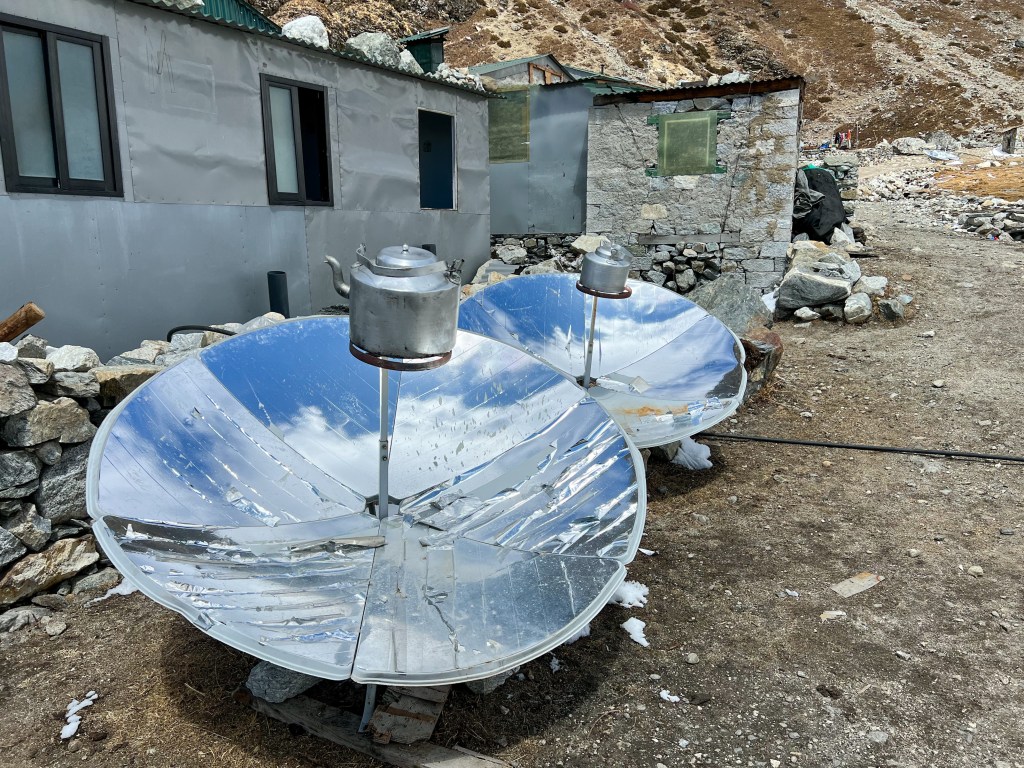
Charging Electronics
If you want to charge your phone, camera, power bank, etc…, you must give them to the teahouse, who will then charge your devices for you (for a fee, of course, as much of the electricity comes from solar power). This will also vary based on where you are on the trail but hikers can dexpect to pay around $4 for a phone charge, $6 for a camera charge, and $8 for a power bank charge.
Showering
Many, but not all teahouses will have one or two hot showers (from solar power) that cost around $5 – $10 or so depending on where on the trail you are. Some teahouses offer the chance to purchase a “warm water washing bowl” for $2-$3, that can be used to wash your face and other parts of your body, and some even offer a “cold shower” alternative for free.
While I would not necessarily recommend this, my shower plan went as follows:
- Day 1 – free cold shower
- Day 2 – no shower
- Day 3 – $5 hot shower
- Days 3 & 4 – no shower
- Day 5 – free cold shower
- Day 5-13 – no shower!!
- Day 14 – $5 hot shower
- Day 15 – free hot shower in Kathmandu
I would argue it was too cold to smell any of the accumulated dirt and sweat but your mileage may vary.
Highlights of the Trek
Here are some of my favorite parts of the 15 day trek – I will discuss them in more detail in the next couple posts.
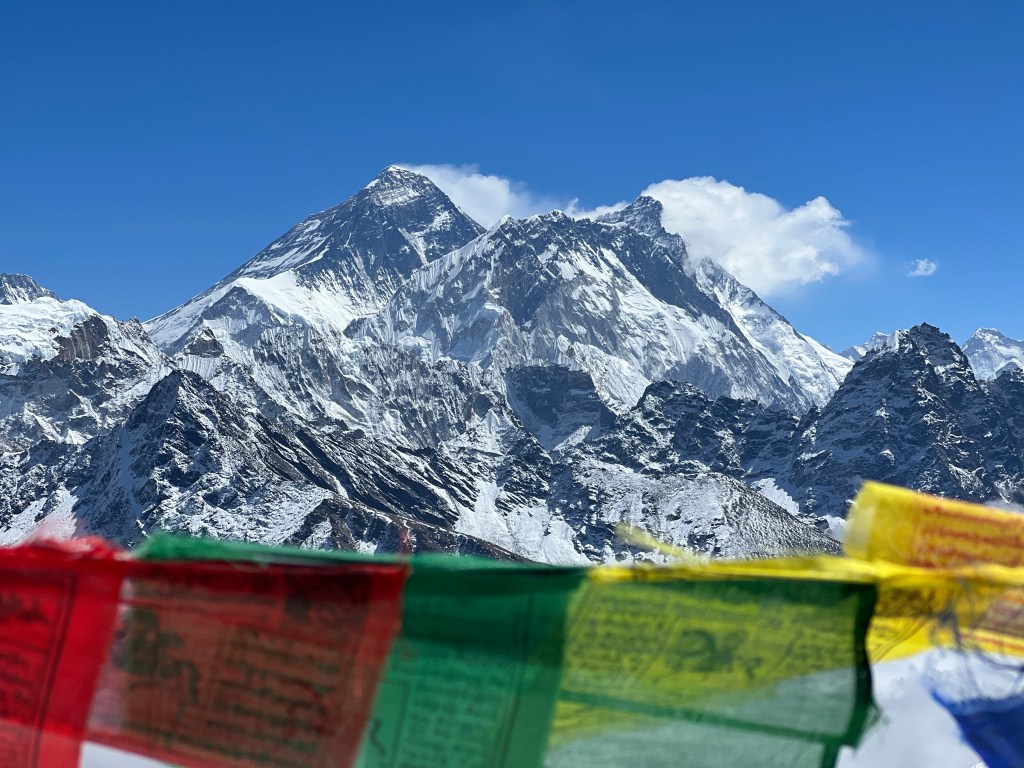
- Everest View Hotel (day hike from Namche) – the first view of Mount Everest!
- Ama Dablam base camp & high camp (day hike from Pangboche) – views of Ama Dablam mountain- my favorite in the region and the mountain I plan to climb one day
- Chukhung Ri viewpoint (day hike from Dingboche)
- Everest Base Camp – to say you did it 🙂
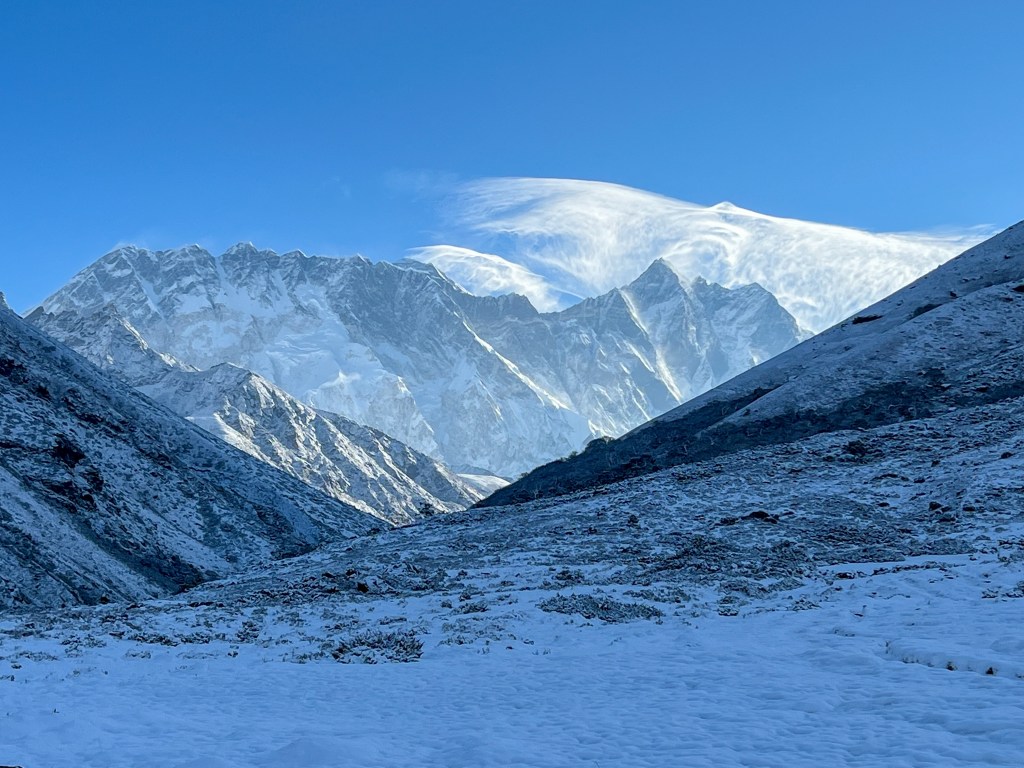
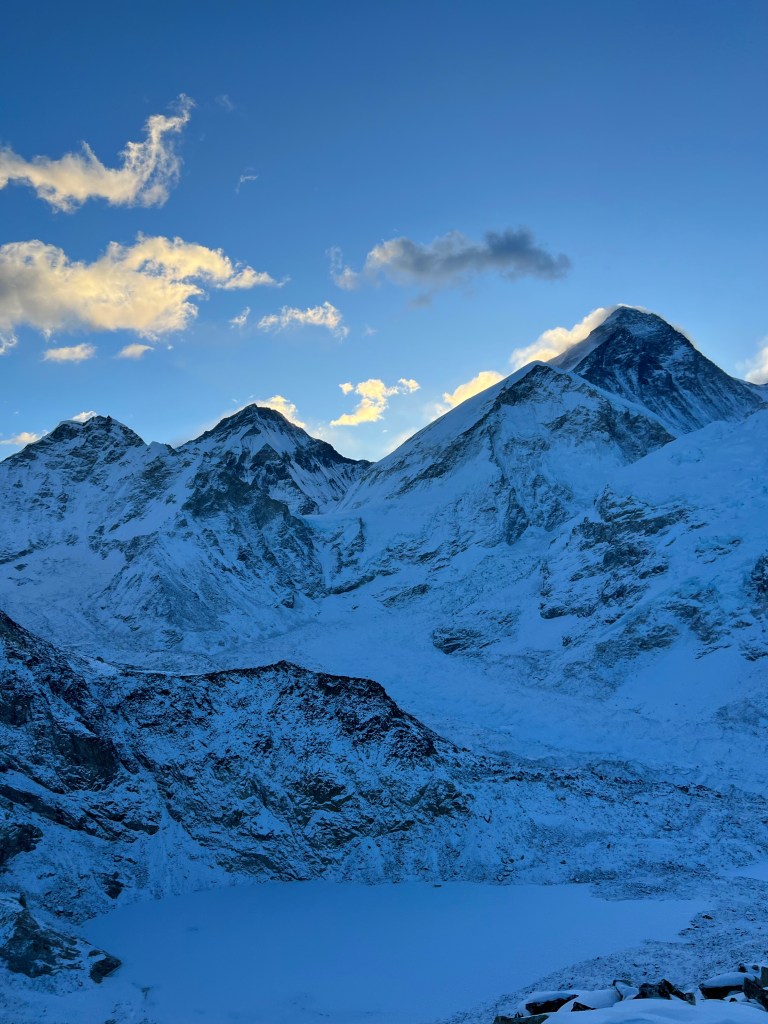
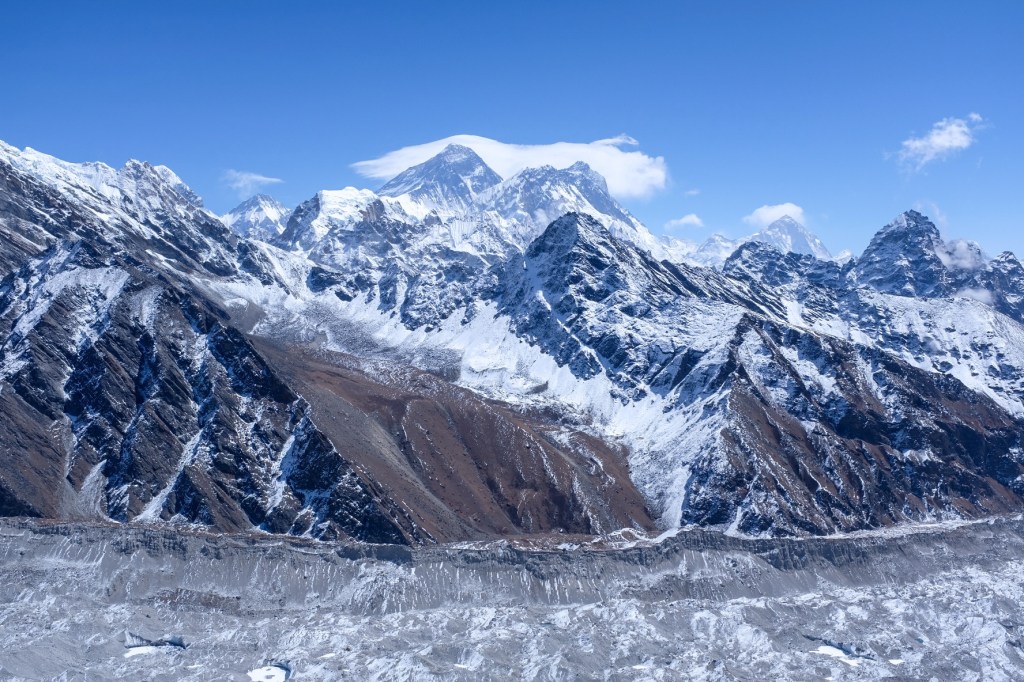
- Kalapathar – for unobstructed views of Everest, Lhoste, Nupla, Changtse Peak to your front and Ama Dablam, Peak 41, Arakam Tse, and half a dozen other peaks to your right.
- Chola Pass Peak – for views of everest, Cho You, Gyanchung Kant, Lhoste, Makalu, Ama Dablam, Kanchenjunga, Nuptse, Mt. Pumori, and many more from the Kumbu Himalaya range.
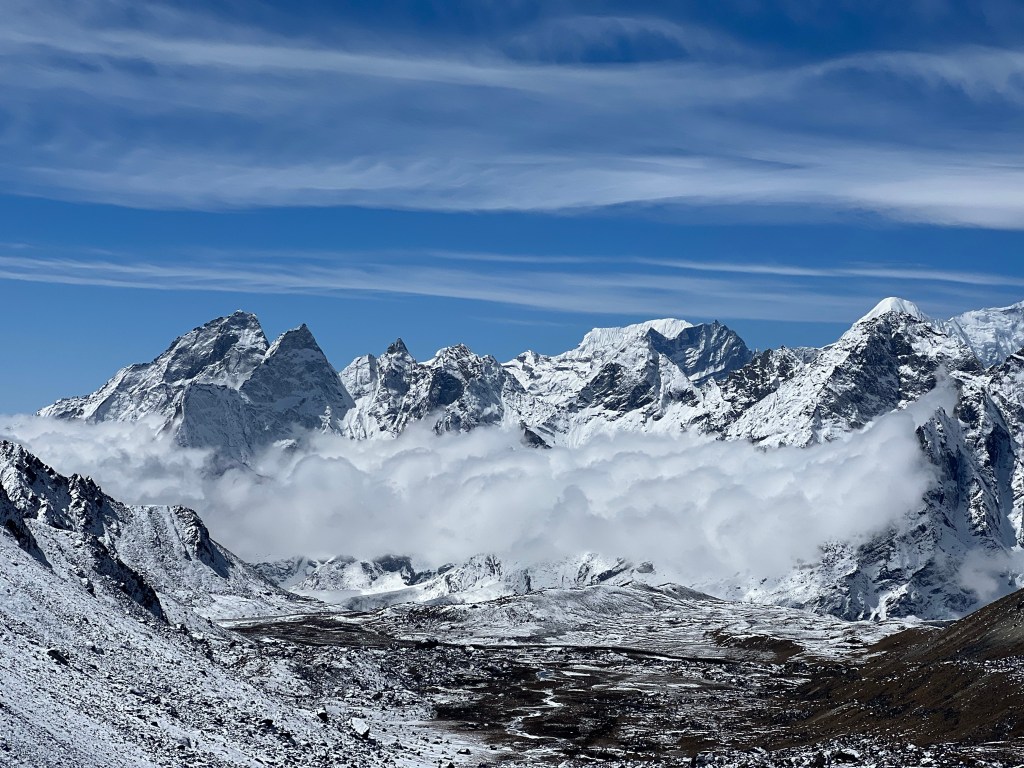
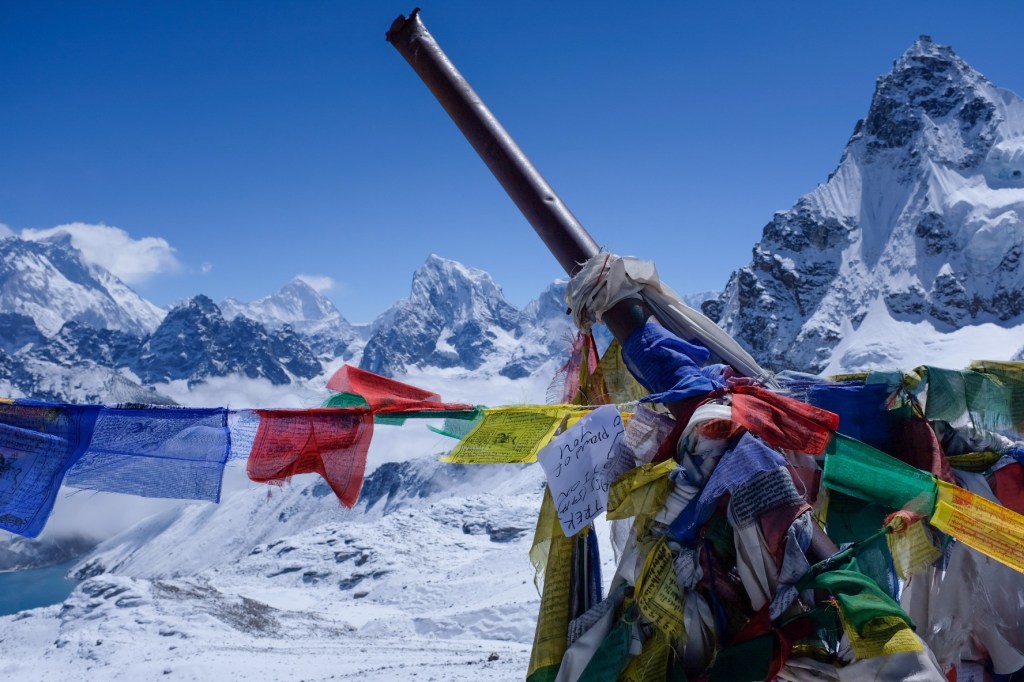
- Gokyo Ri Peak – for more views of everest overlooking the Gokyo hamlet, Ngozumpa glacier, the Tibetan border, and the oligotrophic Gokyo lakes.
- Renjo Pass Peak – arguably the best views of the Khumbu Himalaya range

Okay, now onto the trek!
Sam

Great write up Sam!!!!
LikeLike